Recently, I rounded out my first full year of relaunching this site, which meant it was time to update the SSL certificate on my Azure App Service. I typically purchase my SSL certificates from ssls.com, which serves up Sectigo (formerly Comodo) certificates on the cheap, for just about any need. I always purchase certificates to cover both zacpwhite.com and www.zacpwhite.com, so that the site is served over SSL regardless of the entry method. This tutorial outlines the process for creating a PFX file from an SSL certificate bundle and uploading it into an Azure App Service to bind to a custom domain.
Create a PFX file
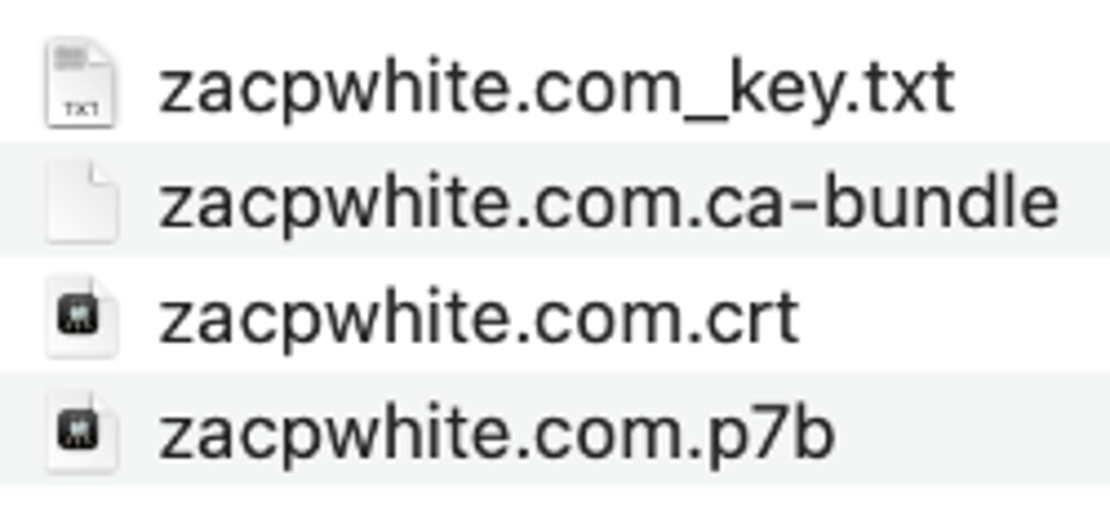
After purchasing an SSL certificate from ssls.com, two zip files are provided for download - one containing the certificate key (typically a .txt file) and another actually containing the certificate bundle. The contents of these files are used to create the PFX file, which can be uploaded in the Azure portal for the relevant Azure App Service.
To begin, combine the contents of these two zip files into a single directory. The next step is to use the openssl utility to convert the certificate bundle to a PFX file. On macOS and Linux, openssl is typically installed out-of-the-box, but for Windows users, a better option is likely certutil or the using openssl through the Windows Subsystem for Linux.
With all of the files combined into a single directory, fire up your terminal and navigate to the newly created folder. From there, enter the command below to create the PFX file, making sure to replace the parameter values with the corresponding file names from your certificate bundle:
openssl pkcs12 -export -out YOUR_DESIRED_PFX_FILE_NAME.pfx -inkey YOUR_KEY_FILE.txt -in YOUR_CRT_FILE.crt -certfile YOUR_CA_BUNDLE_FILE.ca-bundle
Next, you'll be prompted to enter an export password. This can be any password of your choosing, but make sure to keep it safe! Important - you will reuse this password when importing your PFX file into the Azure portal!

After you've entered your export password and verified, you should see a newly created PFX file in your output directory, which will be named according to -out parameter from the command above. In my case, I named my PFX file zacpwhite_com.pfx.
Upload PFX file into Azure
The next step in the process is to upload your newly created PFX file into Azure, which will enable you to utilize this certificate in your Azure App Service.
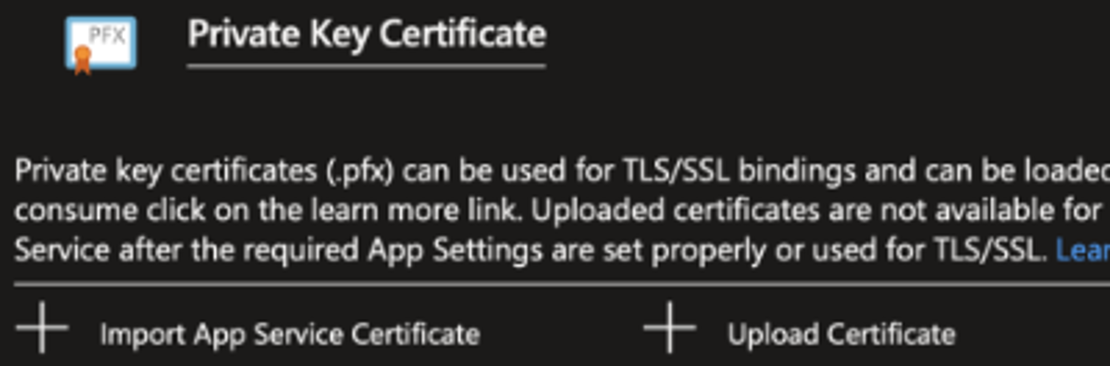
To begin, navigate to the Azure portal and into your app service, then click on the TLS/SSL Settings option from the left navigation menu. Next, navigate to the Private Key Certificates tab, then click on the Upload Certificate button. The Upload Private Key Certificate panel will then appear on the right side of the portal.
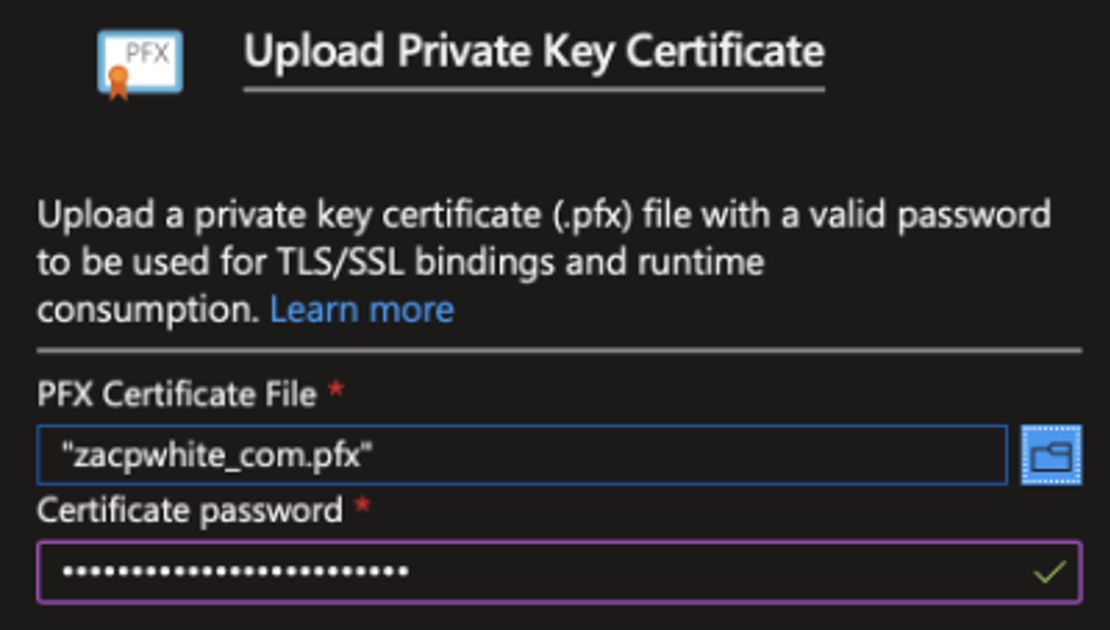
From the Upload Private Key Certificate panel, select your PFX Certificate File from the file browser, then enter the Certificate password for your PFX file. This is the same password you entered when you created your PFX file using the openssl command above. After you click the Upload button, your newly uploaded certificate will be available in the Azure portal, from which you can bind the certificate to your domain.
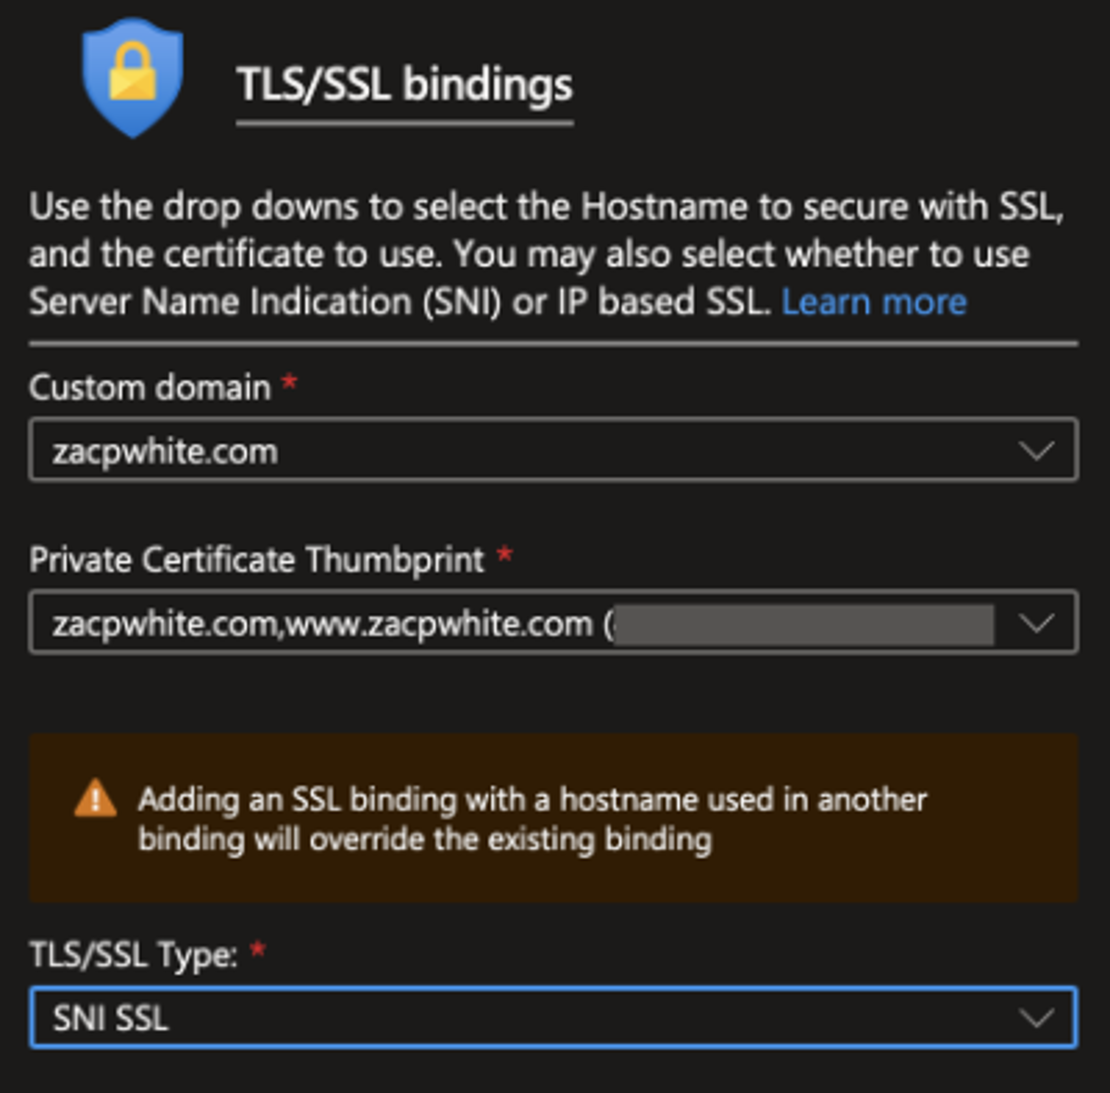
Add TLS / SSL Binding
The final step in the process is to bind the newly uploaded SSL certificate to your hostname. This step is necessary to ensure that your new certificate is being used for any request coming into your site.
From the TLS/SSL Settings panel, click the Bindings tab. Near the bottom of the Bindings tab, click the Add TLS/SSL Binding button.

The TLS/SSL Binding panel will appear on the right side of the portal. Here, select your Custom domain and the Private Certificate Thumbprint, which should match the thumbprint of your newly uploaded certificate. You will also need to set the TLS/SSL Type to SNI SSL. Finally, click the Add Binding button (near the bottom of the panel) to complete the process. Important - you will have to repeat the binding process for every sub-domain that your certificate covers! For me, this meant creating a binding for both zacpwhite.com and www.zacpwhite.com.
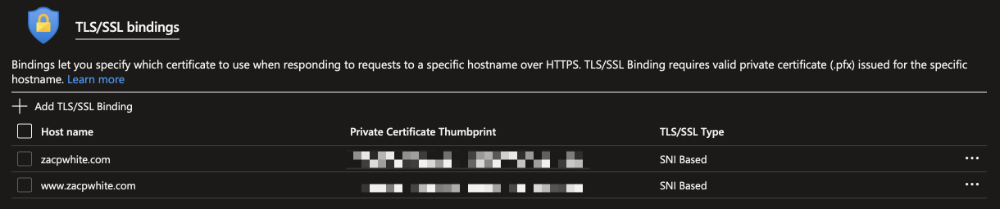
Once you've completed bindings for all of the custom domains covered by your certificate, they will be visible under the TLS/SSL Bindings section, as outlined below. Important - if you have an old certificate that is expiring (or expired), make sure to remove the old bindings from this list!
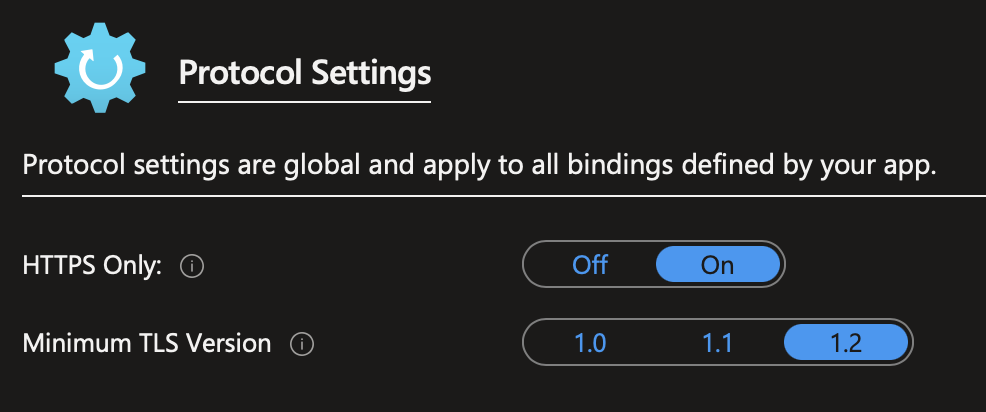
Enforce SSL Globally
The final step in the process is to enforce SSL globally to ensure that all requests to your site are service over SSL. To do this, set the HTTPS Only option to On. It's also a good idea to set the Minimum TLS Version to 1.2 to ensure that the latest cryptographic protocols are in use.