This post is part 6 in the series Deploying Piranha CMS to Azure.
In order to use Azure Blob Storage, you'll first need to create an Azure Storage Account. An Azure Storage Account enables your Azure App Service, and other Azure resources, to securely store and retrieve various types of data. This account will effectively house and serve your blob data (media files) that will be uploaded to Piranha CMS as you create content. Don't be confused by the name; An Azure Storage Account is simply another resource that will exist in your Azure Resource Group.
Create an Azure Storage Account
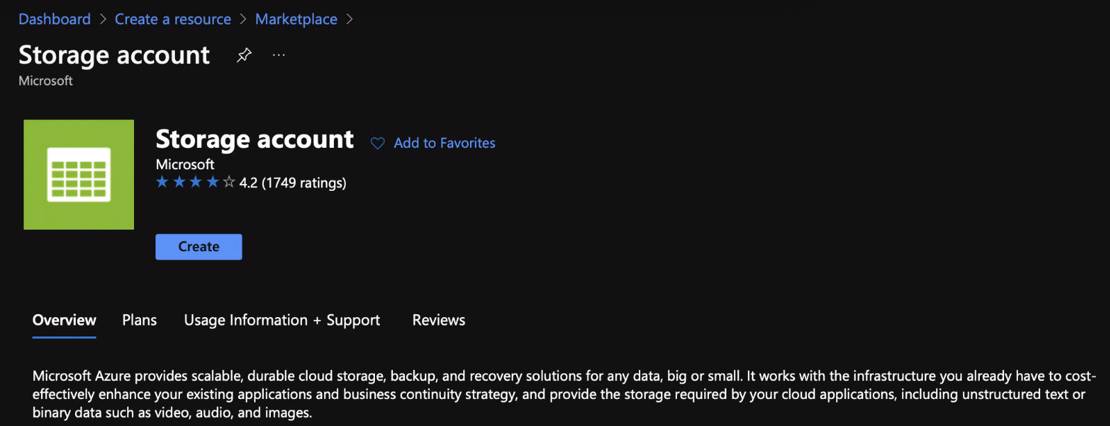
To begin creating an Azure Storage Account, launch the Azure portal at portal.azure.com, then click the Create a resource button in the top left navigation pane in the Azure portal and search for storage account. The Storage account option will be the first item in the search results. When you click on the result, an informational window will appear that outlines the details of a storage account. From here, click the Create button, as seen in the screenshot below.
In the next page that appears, you'll be prompted to enter all of the necessary details required to create an Azure Storage Account. All of these options are very straightforward and should look familiar based on previous parts of this tutorial, however I've outlined each one in detail below.
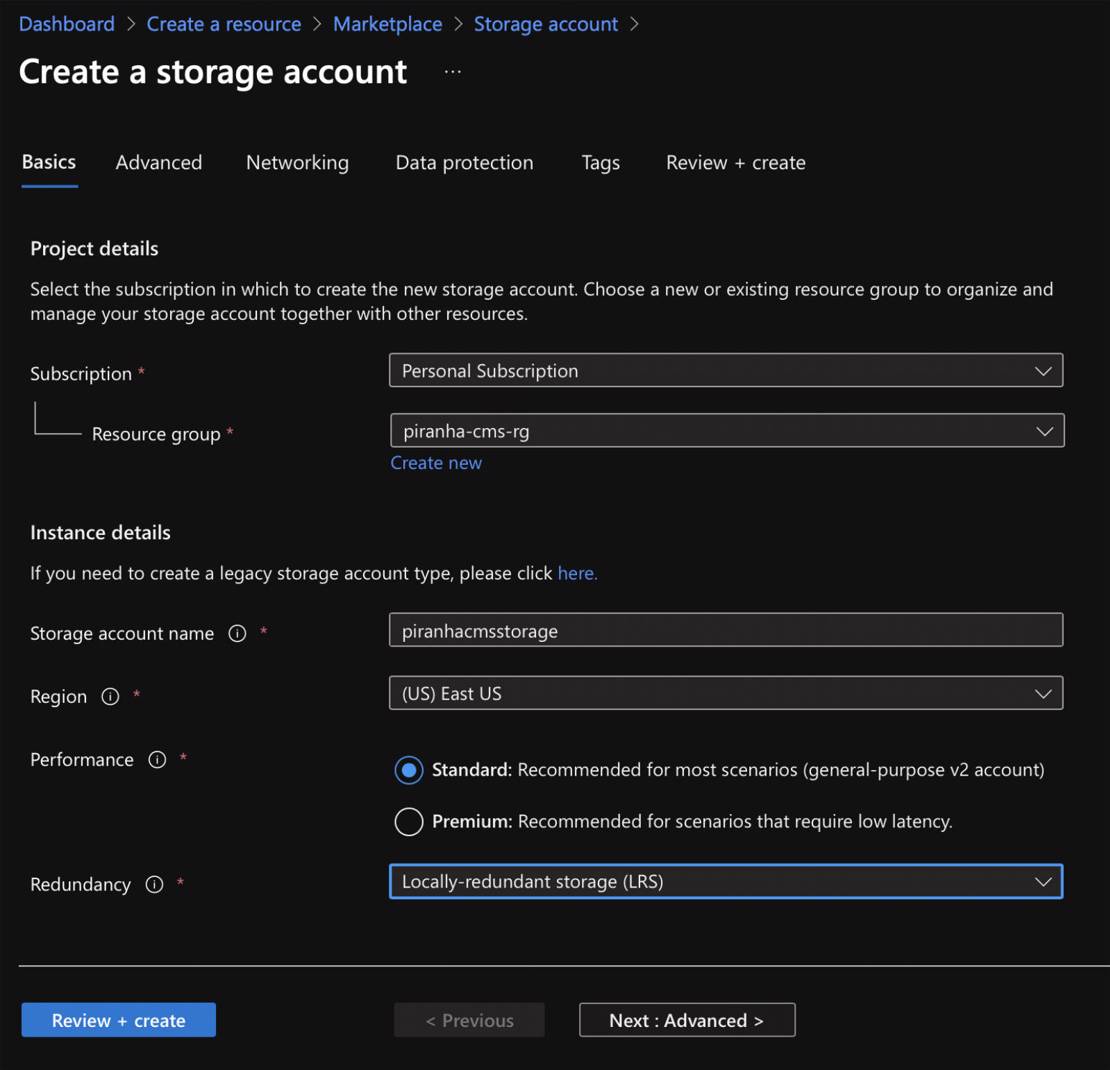
Project details
- Subscription - This option will default to the subscription name you entered when you setup your account.
- Resource group - Select the resource group option that contains your existing App Service.
Instance details
- Storage account name - This is the name of your Storage account. This name must be unique across Azure.
- Region - Select the same region as your existing App Service.
- Performance - This option will default to the Standard tier. Unless you have some overwhelming need for very low-latency storage, leave the default option.
- Redundancy - This option allows you to set the storage redundancy for your data. In this case, I chose Locally-redundant storage, but you should choose the option that most closely matches your needs.
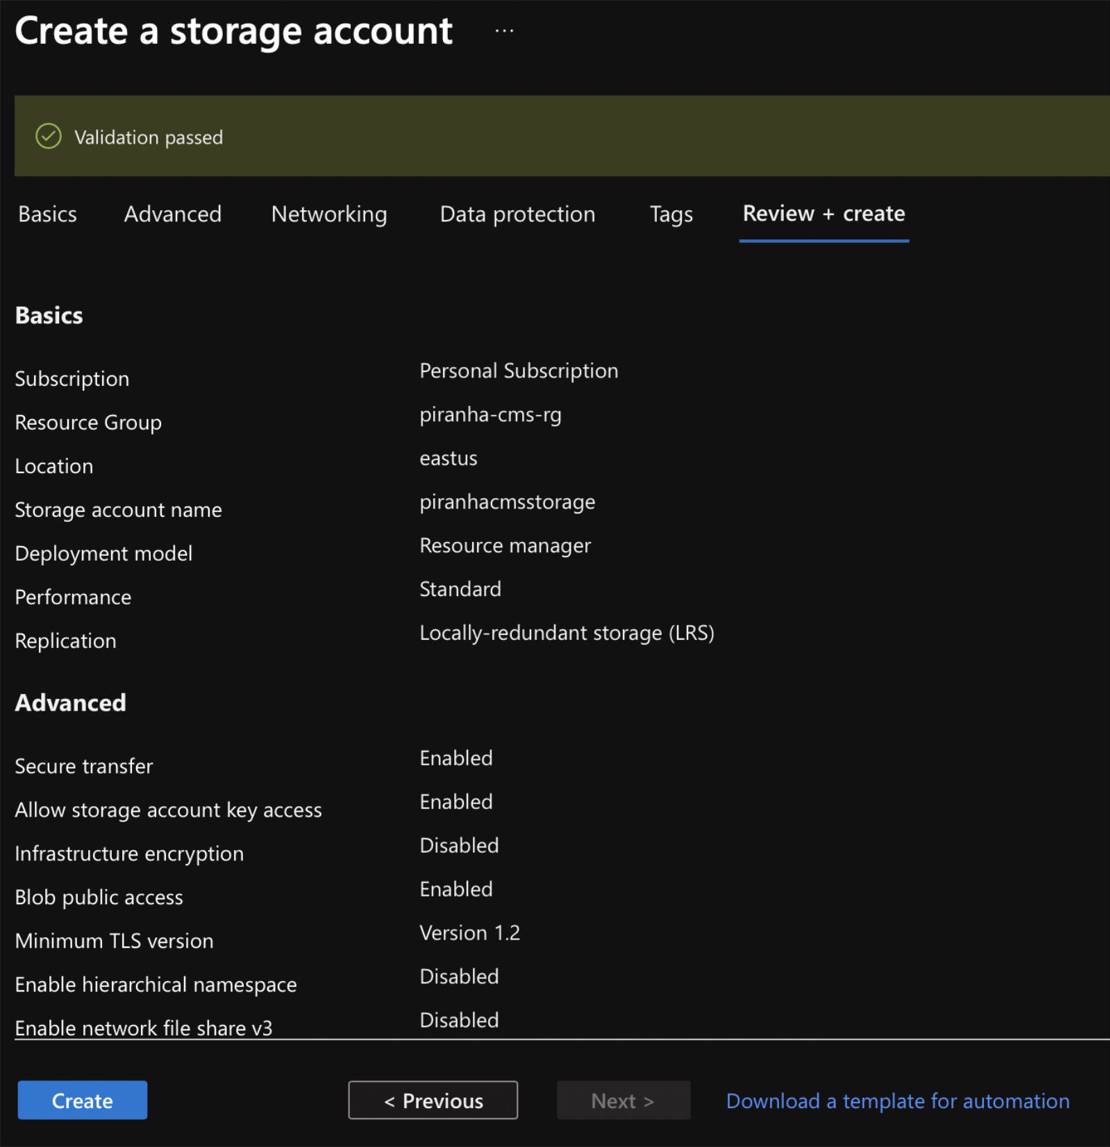
After entering all of the necessary details about your new Azure Storage Account, click the Review + create button. You will then be presented with a page that outlines all of the relevant details about your new Storage account. From here, click the Create button to begin deploying your new Storage account.
Up next:

Part 7: Assigning Azure Storage Account Roles
In order for your Azure App Service to securely access your Azure Storage Account, you'll need to assign your App Service to the appropriate role within your Storage Account. Assigning Storage Account roles effectively allow you to manage access to your A... Read more
#azure #piranha-cms #app-service #cms #blob-storage #piranha #storage-account #tutorial #identity