This post is part 9 in the series Deploying Piranha CMS to Azure.
Now that your Azure App Service, Azure SQL Server instance, and Azure Storage Account have all been configured to work with Piranha CMS, you are finally ready to deploy your project to Azure using GitHub Actions. At the end of this tutorial, you'll have a fully functioning Piranha CMS instance running on Azure that will enable you to immediately begin creating content.
Configure SSL
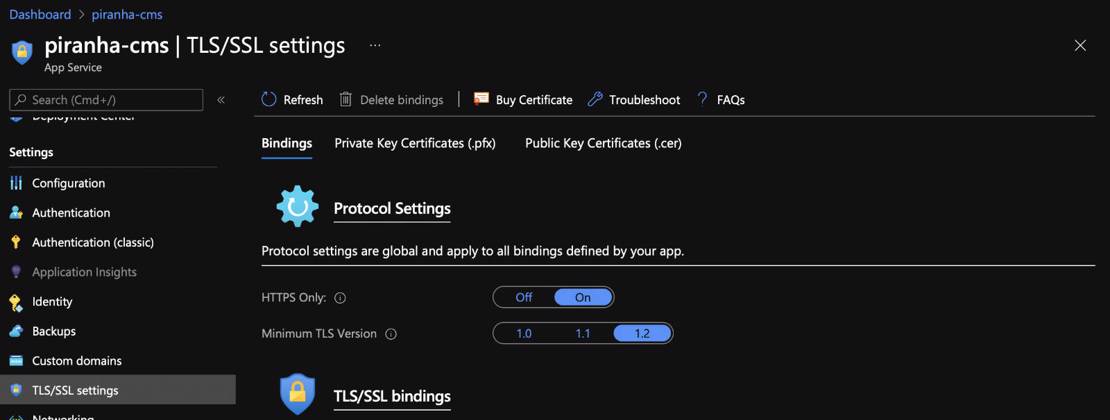
The first step in this process involves configuring TLS / SSL on your Azure App Service. To begin this process, launch the Azure portal at portal.azure.com and navigate to your Azure App Service (Dashboard > Resource Group > App Service). Select the TLS/SSL settings option from the left navigation pane, then set the HTTPS Only option to On. This will result in the site only being accessible via SSL and is recommended before running and configuring your site for the first time.
Build and Deploy with GitHub Actions
The next step in the process involves creating a GitHub Action to automatically build and deploy your Piranha CMS site to Azure. When complete, this build and deployment process will occur automatically every time code is committed into the main branch of your GitHub repository.
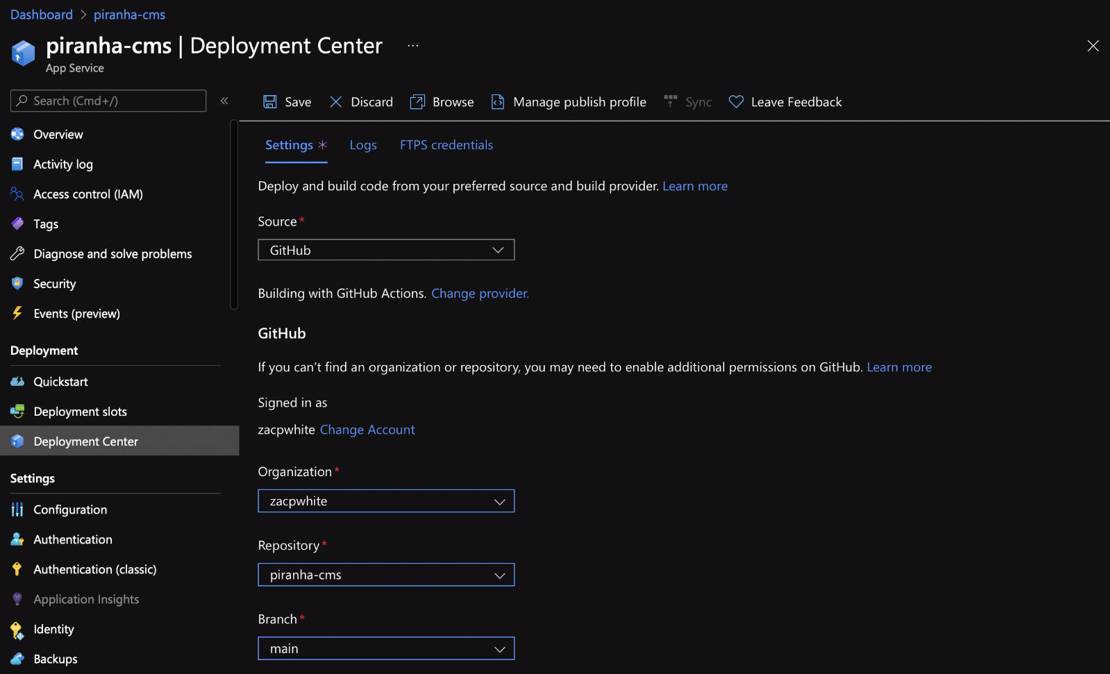
To proceed with this step, navigate to the Deployment Center from the left navigation pane within your App Service. Here, you will be presented with the following options:
- Source - The source provider that hosts your Piranha CMS project. Setting the Source option to GitHub will then automatically prompt you to authenticate with GitHub.
- Organization - The name of the organization within GitHub where your Piranha CMS repository is stored.
- Repository - The name of your Piranha CMS project repository.
- Branch - The name of the branch in your Piranha CMS GitHub repository that will be used to deploy your site to Azure. In most cases, this option will be main.
After making these selections, click the Save button near the top of the page.
GitHub Actions Deployment Process
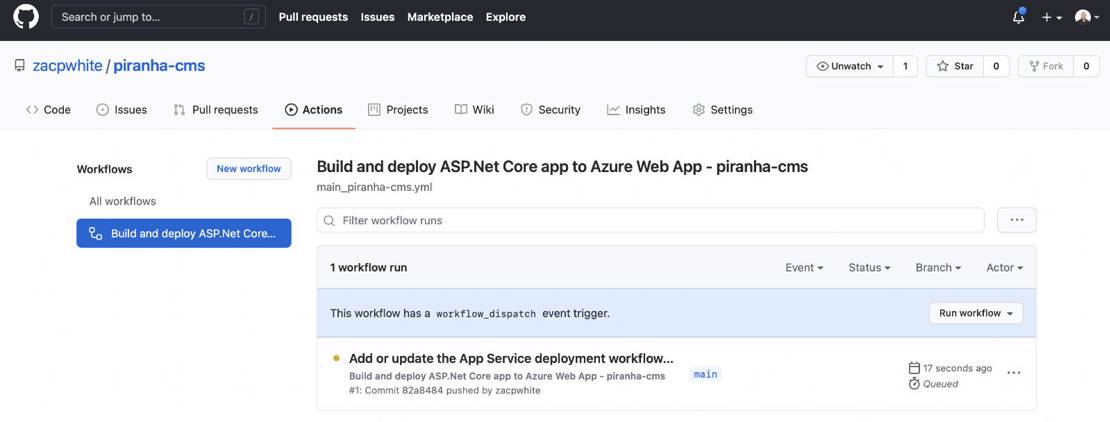
After saving your selections in the previous step, a new GitHub Action will automatically be created in your Piranha CMS repository and will immediately kick off the first deployment of your Piranha CMS site to your Azure App Service. To see the deployment process in real-time, browse to your GitHub repository containing your Piranha CMS site and select the Actions tab.
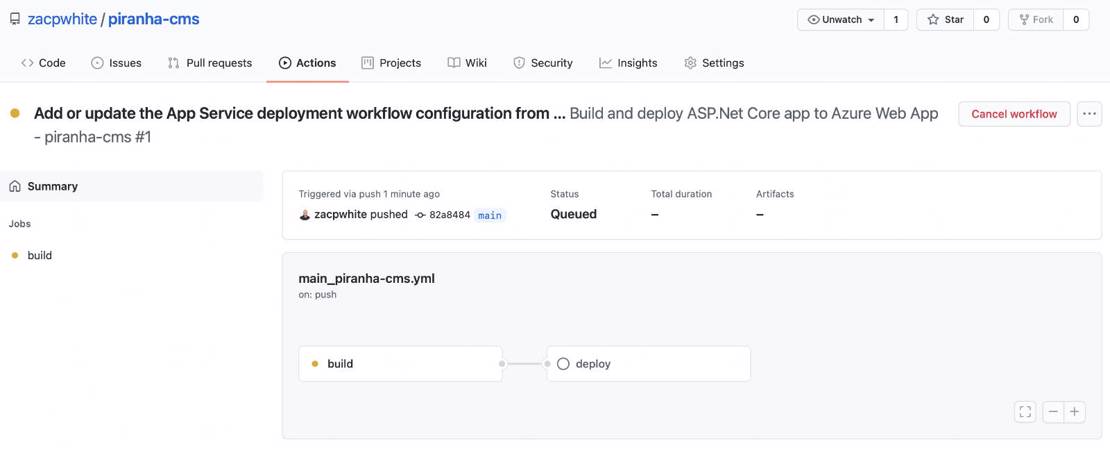
On this page, you can view the overall status of the deployment process. You can also view the process in detail by clicking the workflow titled Add or update the App Service deployment workflow. In the view that appears, you can watch the build and deploy stages in real-time and can continue to drill down into even more detail by clicking the build or deploy nodes individually.
Launch Piranha CMS
After the deployment process completes, you are finally ready to launch your new site. To find the URL of your new site, select the Overview option from the left navigation pane in your App service, then look for the URL label, which located on the top right of the Overview panel, as seen in the screenshot below.
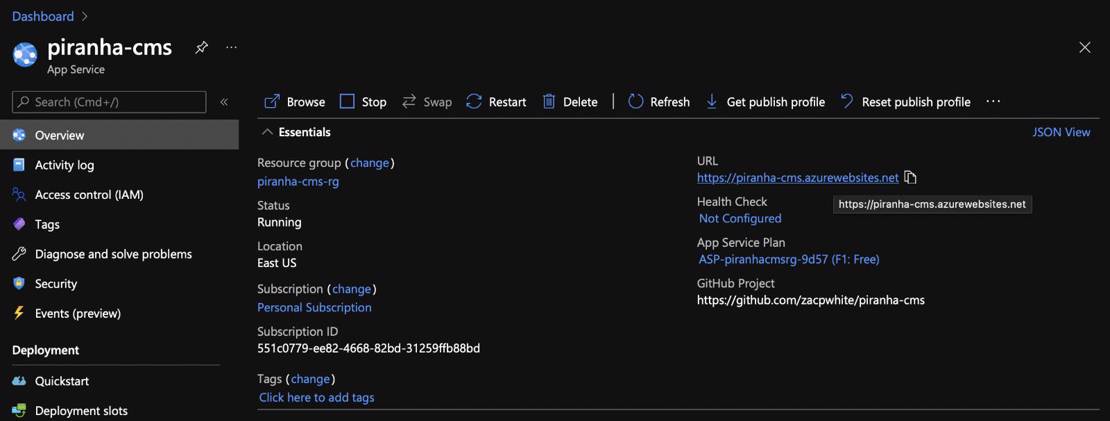
Clicking the URL link will result in your new site being loaded into a browser window, which should display the Piranha CMS start page. Note that if you don't see the page below on first launch, you may need to click the Restart button in the App service Overview panel shown above.
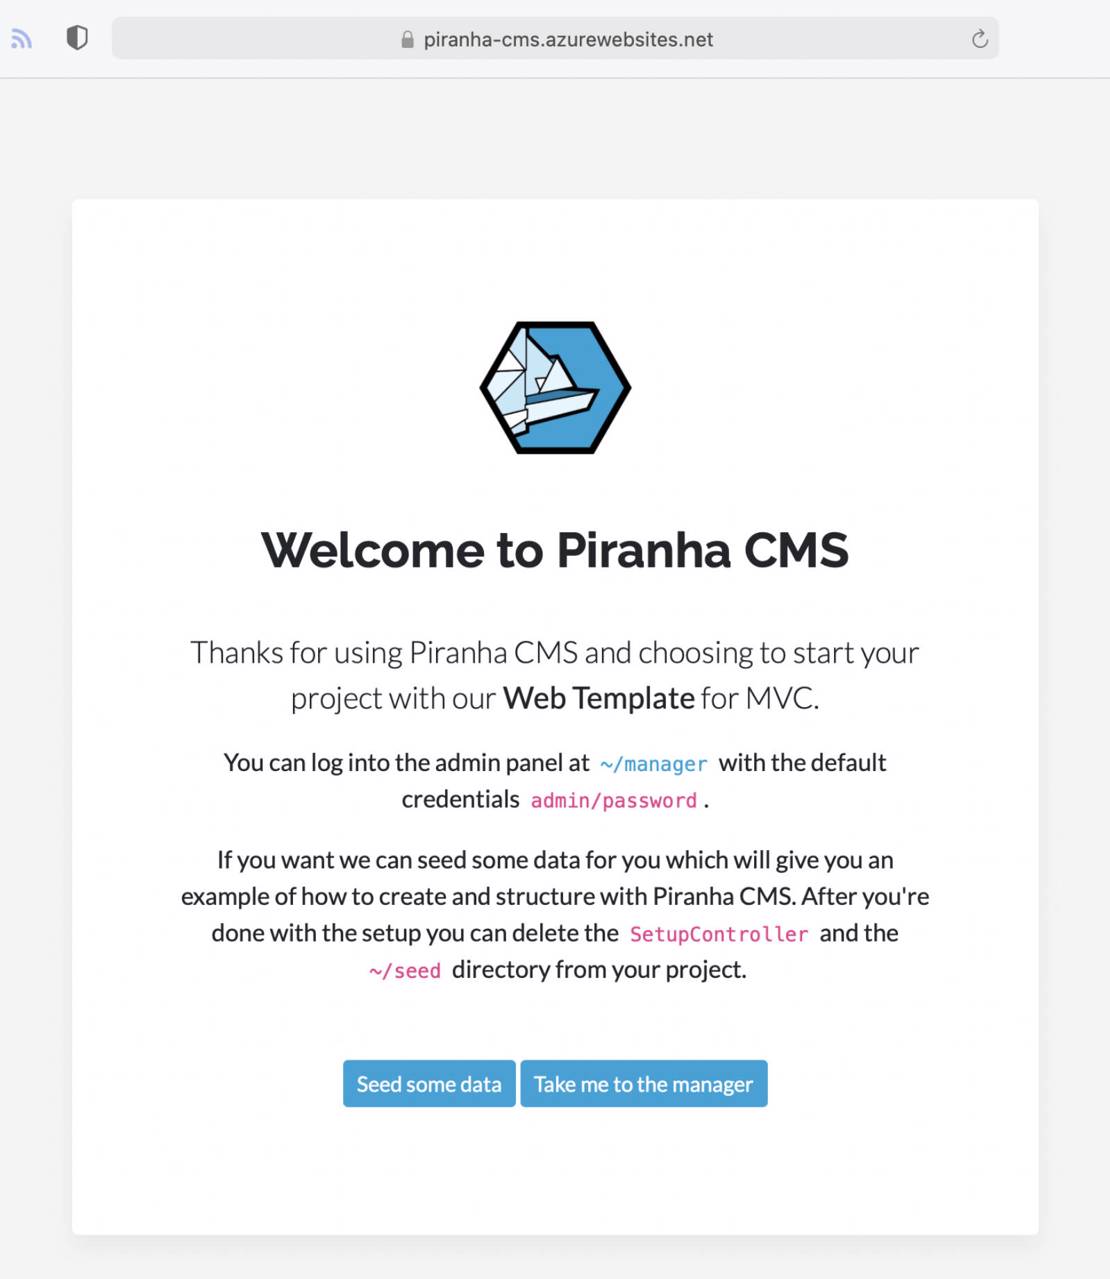
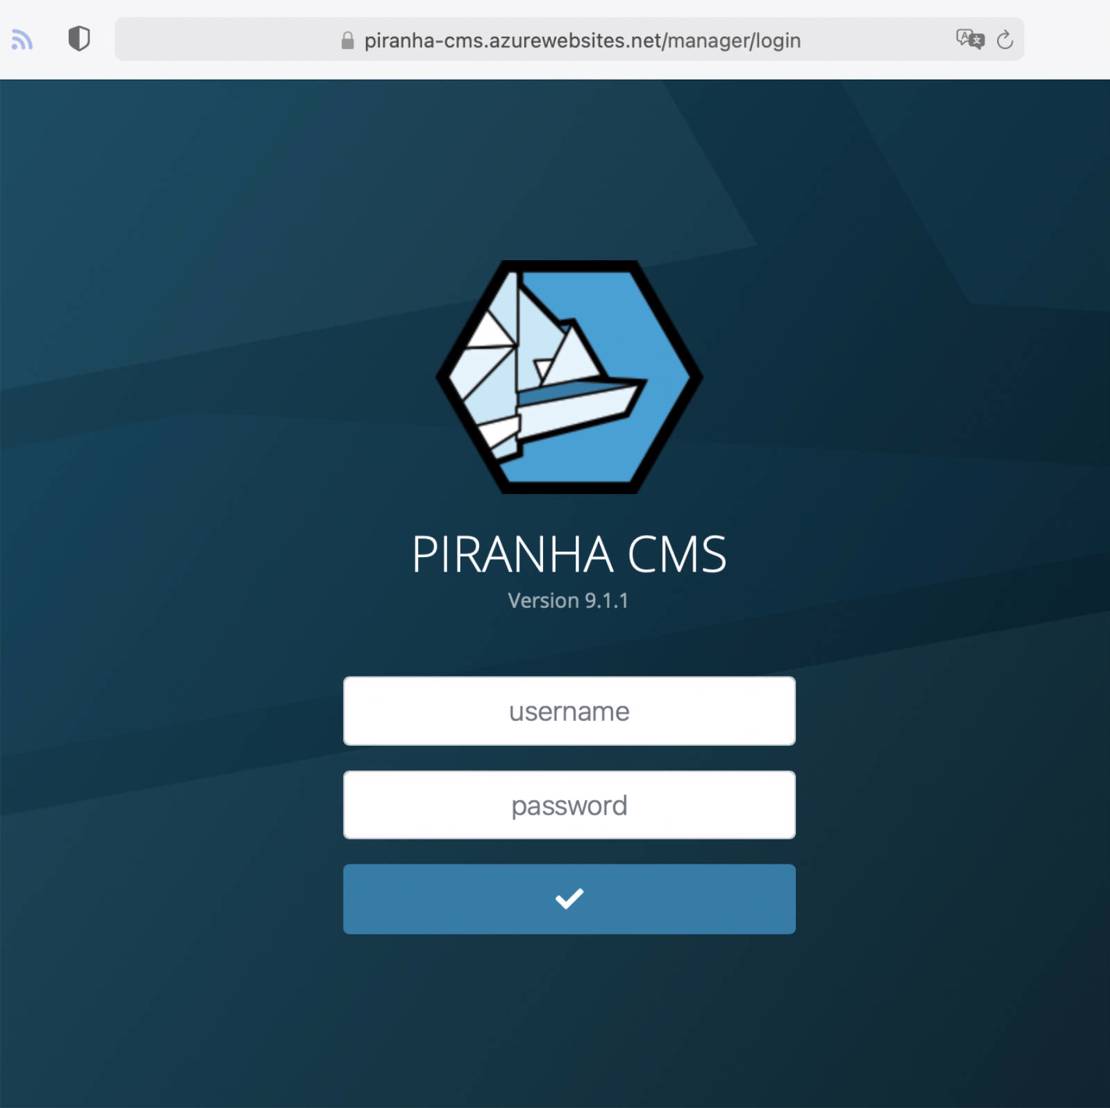
At this point, you can choose to seed your site with sample data or navigate to the manager (admin) page to start with an empty site. No matter what option you choose, you can always access the manager page for your site by navigating to your root site URL and appending /manager to the end of the URL. In order to login to the manager page for the first time, use the credentials admin/password. After first login, you should immediately change this password.
If you correctly configured your site for Azure in part 3 of this series and chose the Seed some data option on the startup page, your root site will be populated with a variety of sample content, as seen below. At this point, you should now have a fully functional Piranha CMS site running on an Azure App service, that has been automatically deployed through the use of GitHub Actions.